
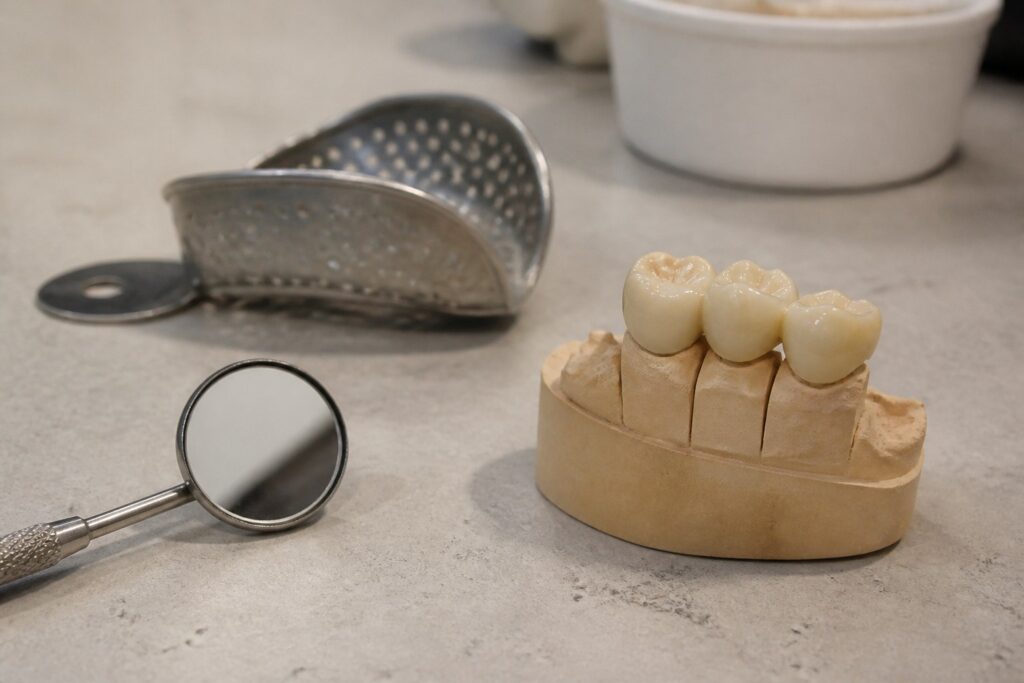
A dental bridge replaces one or more missing teeth by anchoring a false tooth, or pontic, to the natural teeth or implants on either side of the gap. According to the American Dental Association’s MouthHealthy resource, a bridge is a well-established way to restore both appearance and normal chewing function after tooth loss. If you’re weighing a bridge as an option, knowing what actually happens at each visit can make the decision feel a lot less uncertain.
While every case is a little different depending on how many teeth are missing and the condition of the surrounding teeth, most traditional fixed bridges follow a similar general path from first conversation to final placement.
Step 1: The Consultation
The process starts with an exam and a conversation about your options. Your dentist will look at the gap left by the missing tooth or teeth, evaluate the health of the teeth on either side (called abutment teeth, since they’ll support the bridge), and check the surrounding gum tissue and bone. This is also the visit where a bridge gets compared against other tooth-replacement options, such as an implant-supported restoration, so you can weigh factors like timeline, the condition of the neighboring teeth, and your own preferences before deciding how to move forward.
Step 2: Preparing the Abutment Teeth
If a traditional fixed bridge is the right fit, the next visit typically involves preparing the abutment teeth to receive crowns, which is what will anchor the bridge in place. This means removing a small amount of enamel from each supporting tooth so a crown can fit over it properly. Local anesthesia keeps this part comfortable. Once the teeth are prepared, your dentist takes an impression or digital scan of the area, which is sent to a dental lab to fabricate the custom bridge.
Step 3: Wearing a Temporary Bridge
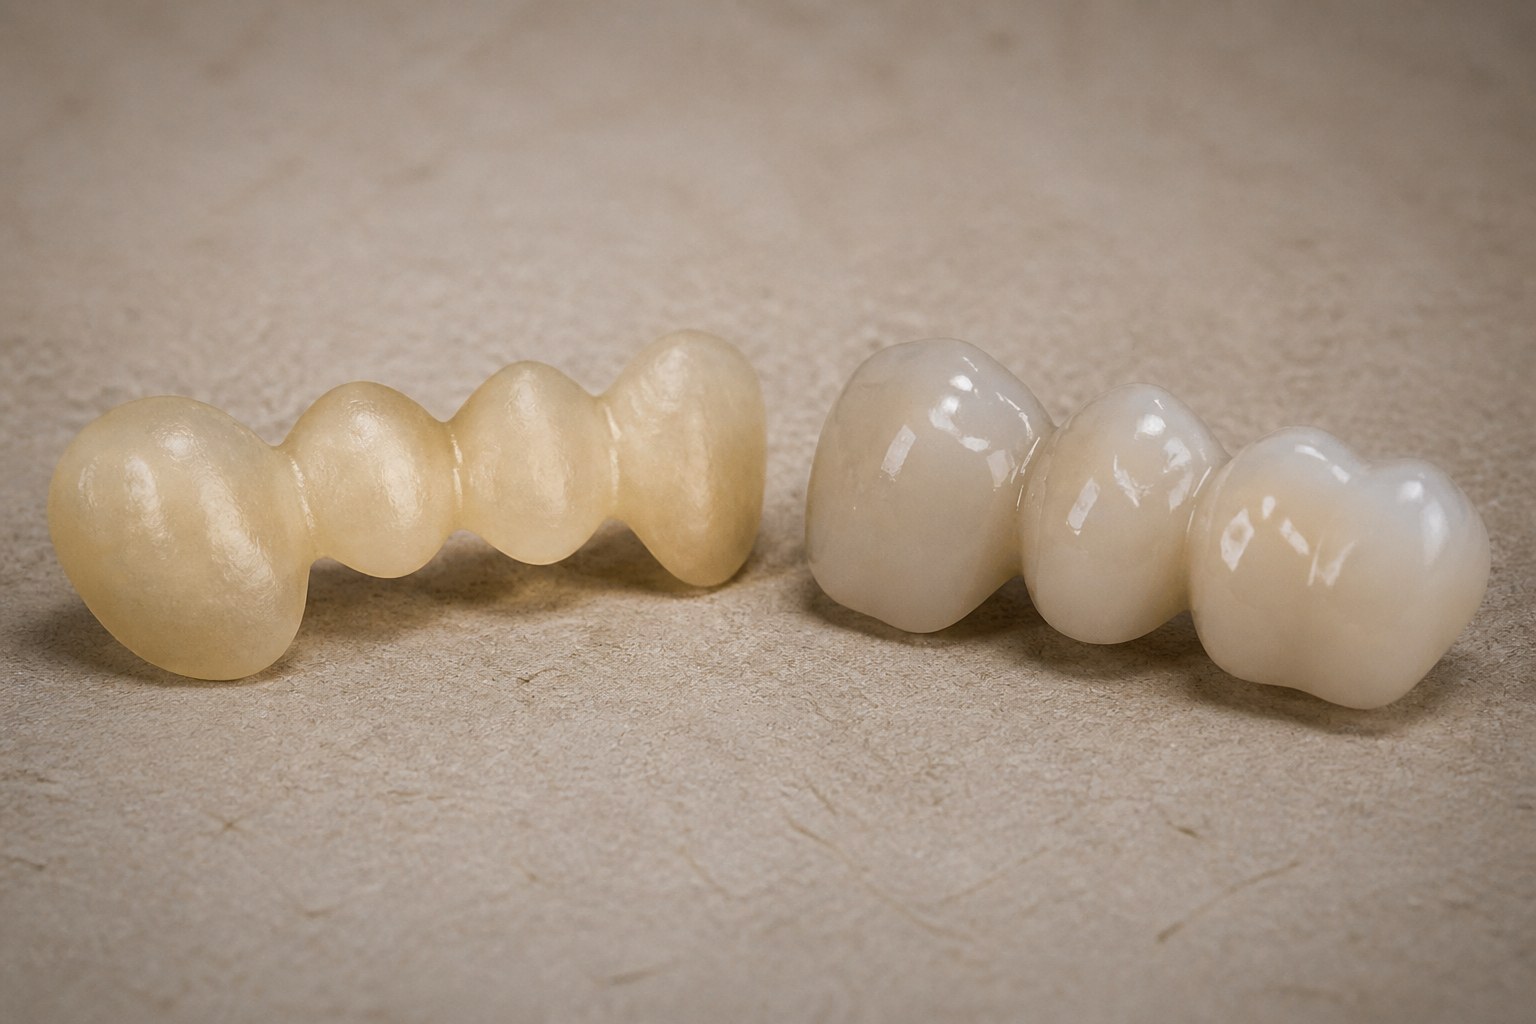
Because the final bridge takes time to fabricate in a lab, most patients wear a temporary bridge in between visits. The temporary protects the prepared teeth and keeps the gap covered while you go about daily life. It isn’t as strong or precisely fitted as the final piece, so your dentist will usually give you a few guidelines for this in-between period — things like favoring the other side of your mouth for firmer foods and being a little more careful with flossing around the temporary.
Step 4: Fitting and Placing the Final Bridge
Once the lab-fabricated bridge is ready, you’ll return for a fitting visit. Your dentist checks the fit, the bite, and how the bridge looks alongside your other teeth before cementing it permanently in place. Minor adjustments are common at this stage — a bridge that feels slightly high when you bite down, for example, can usually be smoothed in the same visit. Once everything checks out, the bridge is cemented, and you leave with a restoration that’s designed to function like your natural teeth.
Types of Dental Bridges
Most patients end up with a traditional fixed bridge, the type described above, where crowns on both neighboring teeth anchor the pontic in between. A few other designs exist for specific situations:
- Cantilever bridges anchor to just one abutment tooth instead of two, which can work when there’s only a healthy tooth on one side of the gap. Dentists tend to reserve this design for front teeth that don’t take on heavy chewing force, since a single anchor point handles less pressure than two.
- Maryland (resin-bonded) bridges use a metal or porcelain framework bonded to the back of the neighboring teeth instead of full crowns, which means less of the natural tooth structure has to be altered. The tradeoff is that they’re generally less durable under heavy biting force than a traditional bridge.
- Implant-supported bridges anchor to dental implants instead of natural teeth, which is often recommended when the neighboring teeth aren’t healthy enough to serve as abutments, or when several teeth in a row are missing.
Your dentist will recommend a specific type based on which teeth are missing, the condition of the neighboring teeth, and how much chewing force the area needs to handle.
What to Expect Afterward
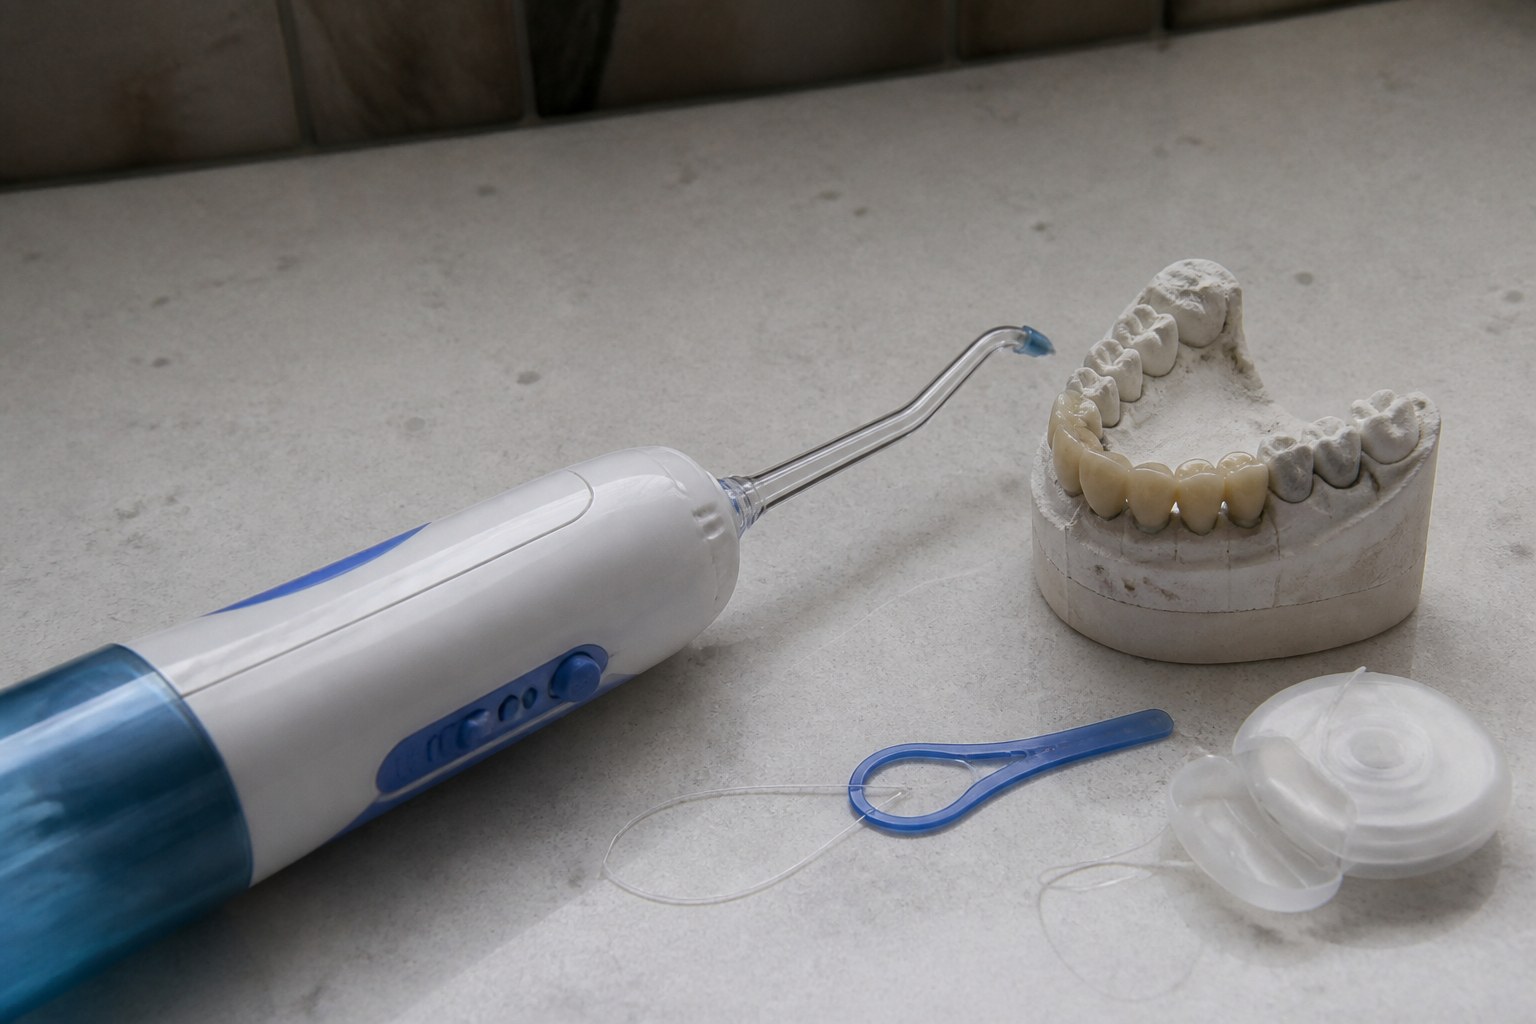
It’s common to notice the bridge for the first few days simply because it’s new — your tongue and cheeks need a short adjustment period, and mild soreness in the gum tissue around the abutment teeth can happen from the preparation work. This typically settles within a few days. From there, caring for a bridge mainly means adding one small habit to your normal routine: cleaning underneath the pontic with a floss threader or water flosser, since a regular floss strand can’t reach that area on its own.
How Many Visits Does It Usually Take?
Most traditional fixed bridges take two main visits, spaced a few weeks apart to allow time for the lab to fabricate the final piece, plus the initial consultation. Some practices offer same-day options using in-office milling technology, though a traditional lab-fabricated bridge remains the most common path and generally allows for the most precise fit.
The exact timeline can shift depending on how many teeth are involved and whether any preparatory work is needed first. If an abutment tooth has a cavity that needs to be addressed, or the gum tissue around it needs to heal after a separate procedure, your dentist will usually take care of that before starting the bridge preparation, which can add a visit or two to the overall process. Knowing this ahead of time helps set realistic expectations rather than assuming every case wraps up in exactly two appointments.
Common Questions About Getting a Bridge
Does preparing the abutment teeth hurt? The area is numbed with local anesthesia before any preparation work, so patients typically describe pressure or vibration rather than pain during the appointment itself.
Can I eat normally with a temporary bridge? You can eat normally, though most dentists suggest favoring softer foods and the opposite side of your mouth for anything especially hard or sticky, since the temporary isn’t as durable as the final bridge.
What if the abutment teeth aren’t healthy enough to support a bridge? This is exactly what the consultation exam is for. If an abutment tooth has significant decay, a weak root, or insufficient bone support, your dentist will discuss alternatives, such as an implant-supported option, before moving forward.
Will the bridge match the color of my other teeth? Yes. The dental lab fabricates the bridge to match the shade of your surrounding natural teeth, and your dentist checks that match at the fitting visit before permanently cementing it in place.
Ready to Talk About Your Options?
Every mouth is a little different, and the best way to know whether a bridge is the right fit for your gap is a conversation with a dentist who can evaluate your specific teeth and gum health. North Pointe Dental Center walks patients through each step, from the first exam to the final fitting, so there are no surprises along the way, and every question about timeline, comfort, or the process itself gets answered before you commit to moving forward.
Call North Pointe Dental Center at (239) 997-9949 or request an appointment online to talk through whether a dental bridge is the right option for you.